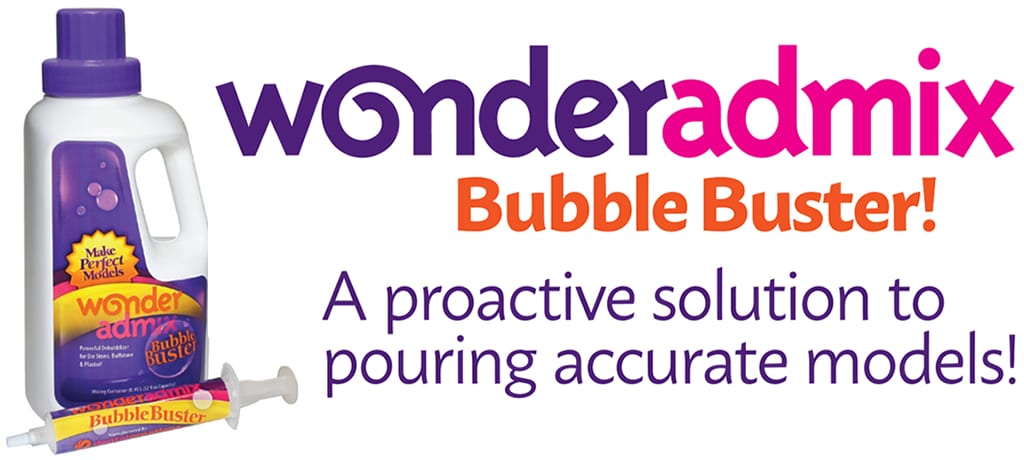
Pouring accurate models is crucial to the outcome of dental treatment and to the health and satisfaction of patients. Models are the foundation to the dental project. Inaccurate models affect all subsequent phases of the case which results in compromised restorative work. Pouring meticulous models is your insurance policy to achieving well-fitting dental appliances.
Impressions are routinely sprayed with surfactants prior to pouring. But, this technique may produce a hit or miss, uneven application which contributes to voids. Moreover, a pooling of excess fluid on the surface of the impression may lead to chalky spots on the model. Sometimes this method does not reach the most critical areas of the impression such as the detail on and around the prepared teeth.
An innovative approach to addressing these issues is to replace the manufacturer’s recommended amount of water with Wonderadmix. Why? Because this product distributes the surfactant via the stone, thereby ensuring an equal distribution of surfactant to the entire impression including the most critical areas on and around the prepared teeth. Wonderadmix breaks the surface tension and allows plaster or stone to glide effortlessly over the surface of the impression. Your models will exhibit a smooth, strong surface thus resistant to chipping and fracturing.
The Wonderadmix system comes with syringes containing a concentrated solution and an empty bottle. Simply dispense the Wonderadmix syringe liquid into the provided bottle, fill the bottle with water and shake before each use. It’s that easy.
Effective planning is essential to the pouring process. Don the appropriate personal protective equipment. Inspect the impression for accuracy and verify that it has been properly disinfected. Once this has been accomplished, proceed to mix the stone.

I suggest the following steps:
- Prepare Wonderadmix mixture (water plus syringe ingredients).
- Shake Wonderadmix mixture prior to each use.
- Always place Wonderadmix mixture in the bowl first.
- Sift stone into the water.
- Pause for a few seconds to let the powder collapse into the water on its own.
- Mix in one direction at 120 rpm until creamy.
- Place the bowl on vibrator which is set on low/medium.
- Break air bubbles that rise to the surface.
- Remove mix from vibrator.
- Rest the tray handle at an angle on the platform of the vibrator.
- Place a small amount of stone on the spatula and let it flow into the most distal surface of one side of the impression.
- Continue adding small increments to the same area
- Rotate the impression to guide the flow of the stone around the arch. Be sure to keep the stone moving through the anatomical depressions from one side, through the anterior, and into the opposite side.
- Once the anatomical area if filled, use larger increments of stone to fill the entire impression.
Following this step-by-step approach will enhance the quality and usability of your models. So will using the right products. You do have a solution for pouring accurate models. That solution is called Wonderadmix.
Article by: Ellen Gambardella, CDA, M.Ed.
About the Author: Ellen Gambardella, CDA, M.Ed. is an award winning educator and professional speaker. In a nationwide search, Ellen was selected as the “Most Effective Dental Assistant Educator in the United States” and is the recipient of the “Teacher of the Year” Award in Massachusetts. Ellen has lectured nationally and internationally. She may be reached at ellengambardella@gmail.com


